Feeling ambitious, you took on a DIY paint job, only to find yourself in a dilemma on fixing painting mistakes on walls. Firstly, know that you’re not alone, and secondly, keep calm! While experimenting with DIY home improvement projects can be exciting, errors are inevitable.
The experts at Five Star Painting are ready to share their top tips on correcting paint mistakes on walls, ensuring a flawless outcome.
Common Mistakes
Mistake #1: Errant Paint Drips or Minor Spills
Mistake #2: Paint Splattered on Glass Windowpane
Mistake #3: Blotchy Coverage
Mistake #4: Paint Blisters
Mistake #5: Paint Drips and Runs
Mistake #6: Paint on the Ceiling
Mistake #7: Roller Marks
Mistake #8: Messy Trim
How To Fix Painting Mistakes
Most painting errors on walls can be corrected by sanding the affected area, cleaning it, applying primer, and repainting it. Additionally, painting mishaps can occur off the walls, such as spills on carpets. Fortunately, the majority of these issues can be resolved by homeowners themselves.
Getting Rid Of Roller Marks And Brush Marks
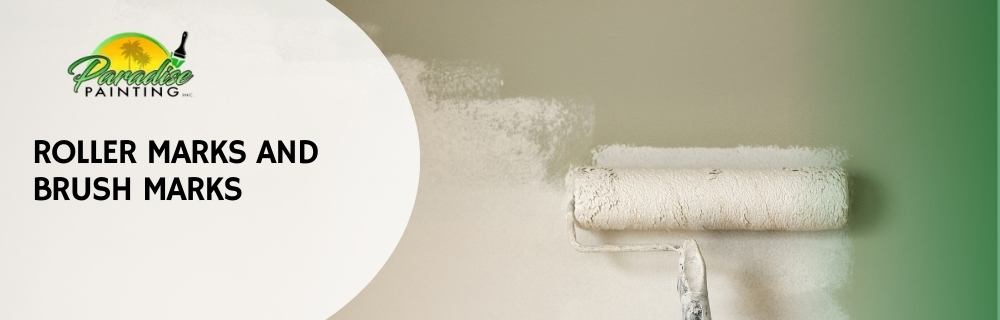
Brush and roller marks on walls are a frequent error in painting, often leaving your walls resembling a busy road. These marks typically occur when the paint is applied without keeping a wet edge. To correct this issue on your walls, follow these steps:
- Lightly sand the affected areas until they are smooth.
- Thoroughly clean the walls.
- Apply a coat of primer.
- Repaint the area.
- When using the roller, ensure to evenly distribute the paint by rolling out excess paint from the roller’s edges to avoid thick lines.
Note: After sanding, you might need to patch the area, especially if the sanding removes some of the underlying paint. Patching the entire area might be simpler but proceed with caution to avoid further damage.
Getting Paint Out Of The Carpet
Act quickly to address paint spills on your carpet! The key is not to rub the spill, as that can push the paint deeper into the fibers. The approach varies depending on whether the paint is water-based or oil-based, and whether it’s still wet or has already dried.
For spills of wet water-based paint:
- Blot the spill gently with a damp sponge or cloth until you’ve lifted as much paint as possible.
- Pat the area dry with a clean cloth.
- Wash the spot with a mixture of warm water and mild dish soap.
For spills of wet oil-based paint:
- Use a sponge or cloth moistened with mineral spirits to dab at the paint carefully.
- It’s advisable to get in touch with a professional carpet cleaner for further assistance since solvents like mineral spirits might affect the adhesive properties of your carpet.
For dried paint spills:
- Drizzle a small amount of warm water mixed with dish soap over the stained area.
- Allow this mixture to sit for a while to soften the dried paint.
- Gently scrape away the softened paint pieces.
While this method may not remove every bit of paint, it should help eliminate a significant portion of the spill.
Evening Out Uneven Paint
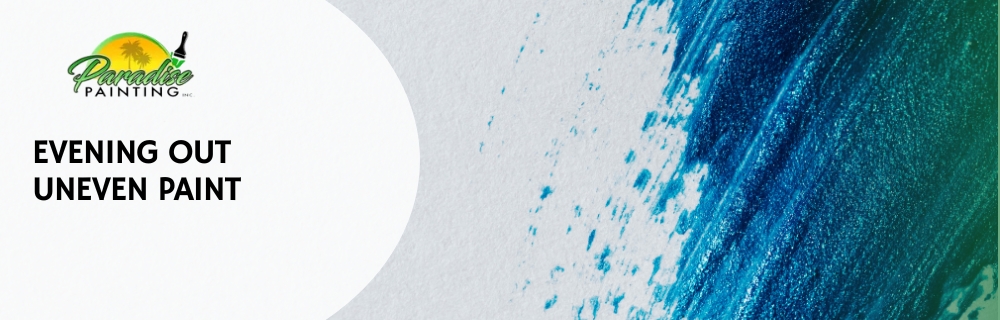
Should you find that your paintwork is uneven, leading to a splotchy effect on your walls, there is a simple solution. Start by letting the first coat of paint dry completely. After it has dried, apply another coat, and repeat this step as necessary until you reach a uniform coverage. Remember, it’s important to ensure the roller is slightly wet at all times for a smooth application.
To make the painting task more efficient, consider using an 18-inch roller. With its larger size, you can paint a bigger area more quickly, making the process smoother. While this option might cost a bit more, the professional-looking finish it provides will prove the expense worthwhile.
Paint On Your Trim
Painting walls doesn’t always mean painting the trim too. Here’s how to fix it when paint accidentally gets on your trim:
- Sand
- Clean
- Touch up with trim paint
Taking Off Dried Paint Drips
Dried paint drips can leave your walls resembling trails of frozen droplets, often a result of overloading brushes and rollers with paint.
To correct this painting error, you can remove the drips either by scraping them away with a paint scraper or by sanding the area until smooth. Afterward, clean the surface with a damp cloth and apply a new coat of paint. A razor blade may also be necessary for eliminating dry paint drips.
Preventing this issue from occurring is straightforward – simply keep a cloth handy to promptly wipe away any fresh spills or drips. Utilizing drop cloths can further safeguard against such mishaps.
Hiding Wall Patches
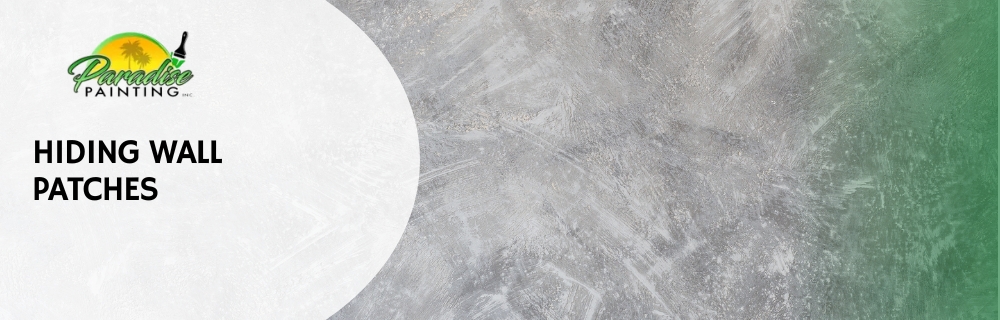
At times, patches on your wall might become visible through the paint, which isn’t aesthetically pleasing. To camouflage these patches, consider applying primer to the affected area with a small roller. After allowing the primer to dry thoroughly, proceed to paint over it.
It might be necessary to apply multiple coats to ensure that the texture and density of the paint align with the surrounding areas, creating a seamless appearance.
“Popping” Bubbles On Your Walls
Typically, issues with moisture or heat are to blame for this painting error. To rectify it:
- – First, pinpoint and resolve the root cause
- – Remove the bubbles by scraping them off
- – Smooth the area with sanding
- – Clean the surface
- – Apply a coat of primer
- – Finally, repaint the area
Clearing Up Ceiling Spots
Paint has a way of spreading far and wide, much like sand.
Should you notice wet paint on your ceiling, lightly mist clear window cleaner onto a brush and softly remove the paint. For dry paint spots, a touch-up with a small brush may be necessary.
Be cautious with window cleaner as it has the potential to strip away more paint than intended.
Smoothing Out Wrinkled Paint
Wrinkles in paint occur due to overly thick application, insufficient drying time between layers, or painting in harsh temperatures. To correct this, sand the wrinkled area until smooth, clean it, apply a primer, and then repaint.
Getting Rid Of Paint Tape Lines
Paint will sometimes come off with the tape if the tape’s left on the wall for too long. An hour is usually long enough. If you haven’t taken the tape off yet:
- Cut off the tape and any raised paint with a razor blade
- Use a sanding block to smooth the area
- Clean
- Prime
- Paint
Getting Paint Off The Windows
Avoid wiping it! Wiping could cause the paint to spread, making it more difficult to remove.
The optimal approach to address this painting error involves using a razor blade. Carefully scrape away the paint at an angle to prevent digging into the glass. Ensure the razor blade is clean before each use.


